For all those who still need to depend on their local mechanic for Carb cleaning, just follow these steps which will help you to clean it yourself properly...
Things needed:
- Screw driver.
- 13mm box spanner.
- 12mm box spanner.
- 8mm box spanner.
- WD40/Diesel/Petrol/Carb cleaner.
- Old/New Tooth-Brush.
Step 1-
Close the Fuel Valve and remove the Fuel connector to the carb (take a plastic container to collect the excess Fuel), then take a Flat-head screw driver and unscrew the Fuel-Drain screw

below the carb and collect it in the same container.Now take a 12mm spanner and remove the Tank holding nut, disconnect the Fuel-sensor connector (Green colour). CAREFULLYremove the Tank and place it on a mat...
Step 2-
Take a screw driver and loose the Air-box hose from the carb...

Step 3-
Take a screw driver and loose the intake manifold mount of the carb...
Take a screw driver and loose the intake manifold mount of the carb...

Step 4-
Remove the Choke-lever cable (L-shaped). To remove this you'll need a 13mm Spanner and turn the nut Anti-Clock wise...


Step 5-
Now remove the throttle cable guide assembly by removing the bottom nut (10mm), pull the cable from the butterfly valve clip and remove the cable from the carb...
Now remove the throttle cable guide assembly by removing the bottom nut (10mm), pull the cable from the butterfly valve clip and remove the cable from the carb...


Step 6-
Use a screw drier to remoe the two holding screws of the Diaphragm cover...
Use a screw drier to remoe the two holding screws of the Diaphragm cover...


Step 7-
Insert a finger into the Intake side of the Carb and gradually push the Throttle valve upwards to remove the Diaphragm unit...

Step 8-
Again take a Philips screw driver and remove the Float-bowl screws...


Step 9-
Take a Philips screw driver and remove the Float holding assembly screw (NOTE: I've replace the screw to a Flat head one in mine)


Step 10-
Now remove the Float assembly and CAREFULLY take the Float-Pin, keep everything aside in a safe place...


Step 11-
Take a 8mm spanner and remove the Jet (Don't apply more force)...


Step 12-
Now you have finally dis-assembled the entire Carburetor...

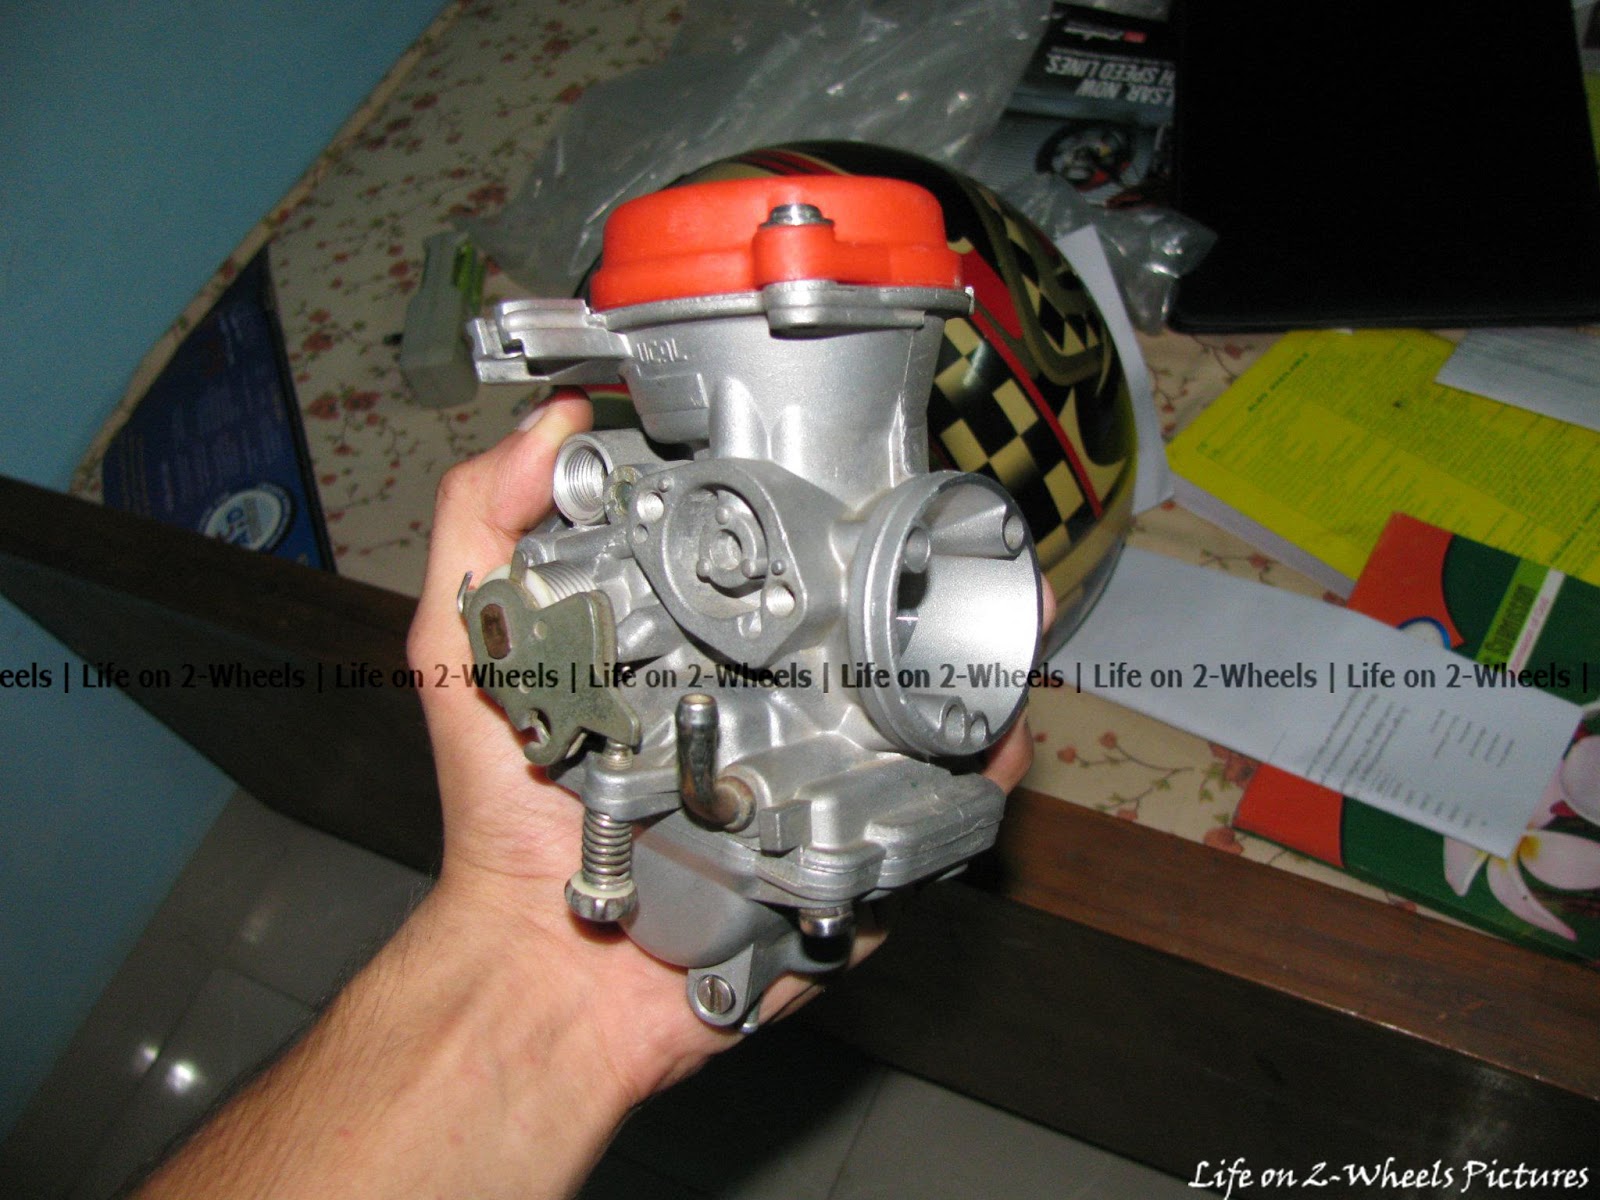
Step 13-
Just take the Carb body, Diaphragm cover and Float Bowl. soak the entire unit in theDiesel/Petrol/Carb cleaner for about 10min, then take a old/new tooth brush and gradually clean the interior and exterior of the carb... After cleaning your carb must look like this...

Step 14-
After cleaning the carb and letting it dry completely follow the steps from 11 - 6 toassemble the Carb... Then follow steps 5- 1 to fit the Carb back in place... Fit everythingcorrectly back on bike and do remember to connect the Fuel-Sensor connector...
( Now your Carb is completely cleaned and you are ready to rip the beast without any fear of sluggishness )
P.S. Special thanks to Srini Razortribe (Srinivas Prasad C.V.) for providing raw pics and text.
Good work by Srinivas!
ReplyDeletevery nice post and thanks for information....For any bike and car cleaner just visit here wash & Wax for motorcycle and how to wash a motorcycle
ReplyDelete